As I mentioned before in this blog, there are two separate classes for 1lb combat robots: one that limits you to only plastics, and one that allows you to use almost any material imaginable. The robot that I built previously falls under the first class, but since the time I thought up this project, I wanted to design a robot that uses materials like metal or carbon fiber. This was an interesting challenge for me and I spent this whole second week designing this second robot.
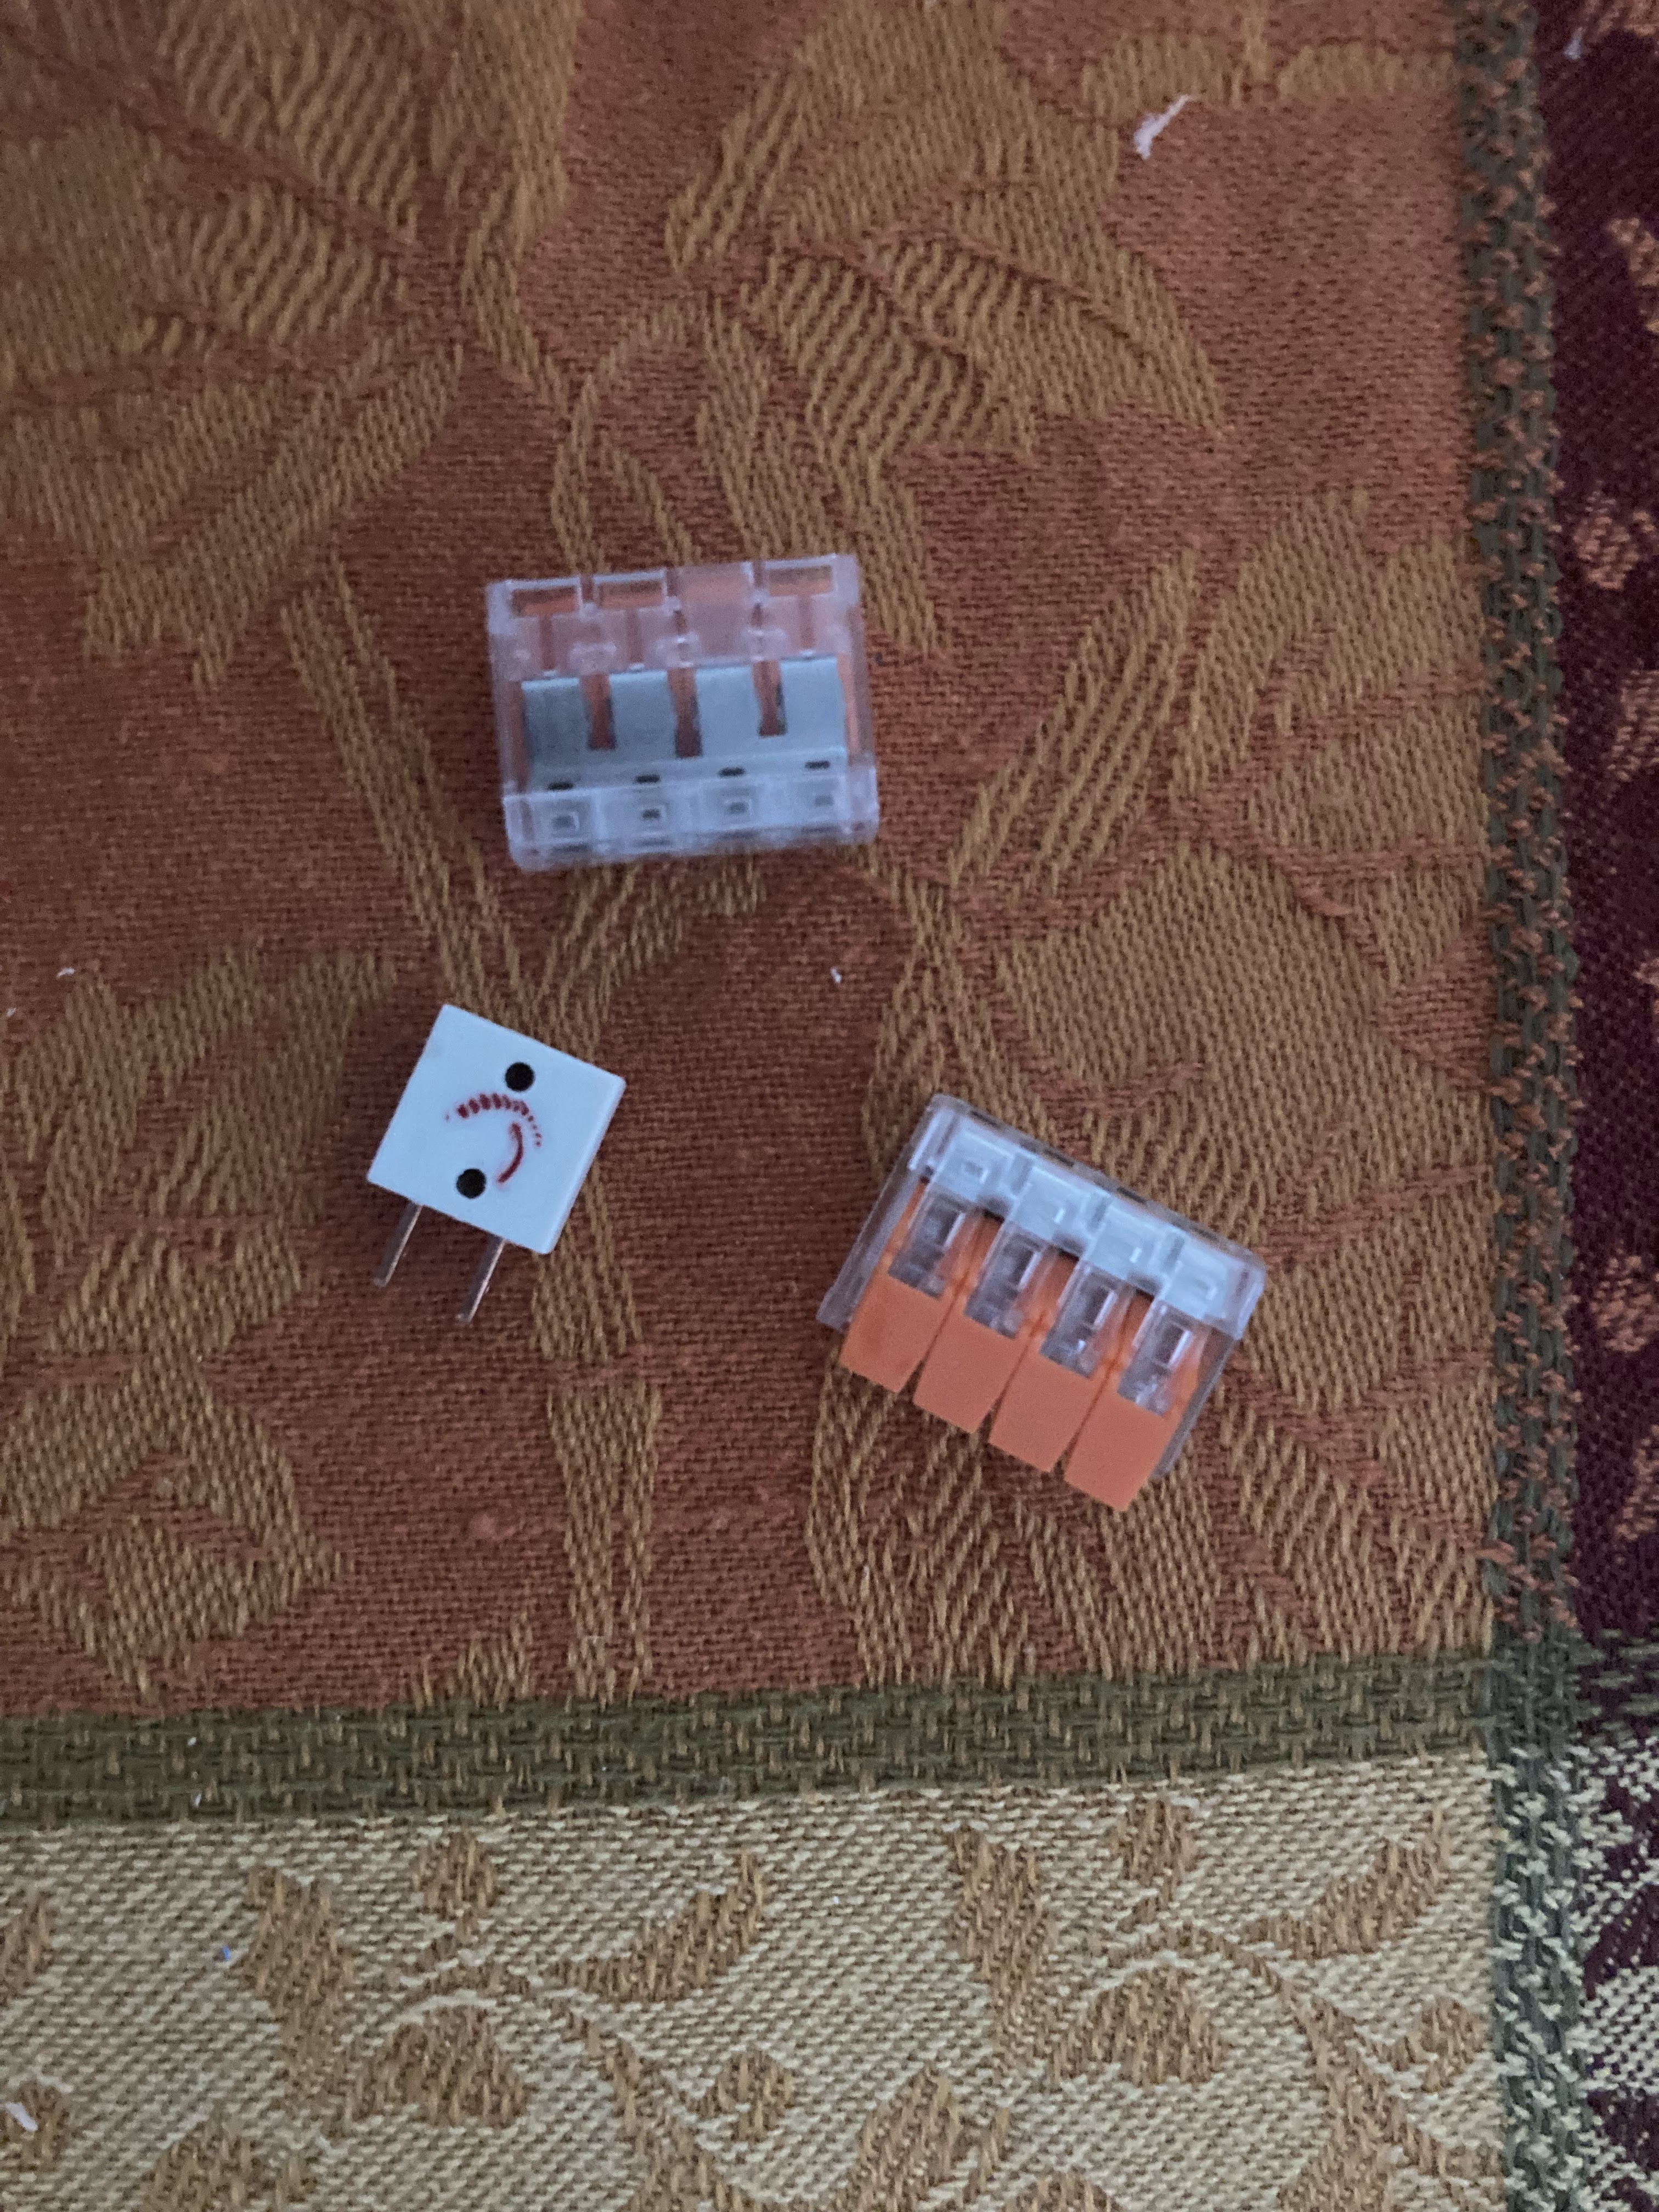
Before I got to work designing this robot, I would need to buy a new set of electronics. My previous set of electronics all came from one robot kit and there were many improvements that I could make buying things this time. The first thing that I purchased were upgraded weapon and drive motors which were both more powerful and durable, and in the case of my drive motors, smaller and lighter. The next thing that I bought was a new battery. In all combat robots, people use Lithium Polymer (LiPo) batteries. The battery that came with my first robot kit was a 2-cell 7.4 Volt battery. When looking at all of my electronics though, I noticed that all of them were able and for most of them, it was recommended to use a 3-cell 11.1 volt battery so that's what I got. I also made small improvements with how I was distributing power by buying two lever clamp 4 port connectors that would make it much easier to connect everything together, and I wouldn't need to solder or trim as many wires as I would have otherwise. I also bought a new switch that used a screw to turn the robot off and on. The switch that I had on my previous bot used a jack to turn the robot off. This allowed the battery to be charged while still inside the robot but the downside was I would have to grab the robot and plug something in to turn it off which I did not want to do with a more powerful robot I wanted to build. The one place that I did not make any improvements was the receiver. The receiver and transmitter I have previously used the AFHDS protocol. While I wanted to change receivers as the one I have currently is way too big and heavy, every small and light receiver was on a different protocol which would need me to buy a 50$ receiver which I did not see as worth it.
 |
| Battery |
 |
| Reciever |
 |
| Motors |
 |
Lever Clamps and Switch
|
Freedom with materials also allows me to decide what material my chassis and armor are going to be instead of the PLA+ that I used on my plastic robot. When choosing my material, I wanted it to be something I could 3D print to make it easier to create complex parts and to iterate upon what I had. The filaments that people use a lot in combat robotics are either Nylon, sometimes with carbon fiber embedded in the filament, or Thermoplastic polyurethane (TPU). Nylon is the strongest rigid 3d printer filament available to me but it is very hard to print and emits volatile organic compounds (VOCs), and I did not have a good place to put my printer to keep my lungs safe. TPU on the other hand is a flexible filament with really strong layer adhesions which makes it a really good candidate for armor because it won't shatter and acts as a shock absorber. I have had some trouble trying to print TPU in the past because my overhangs did not come out that good and the internet was not very helpful in finding which settings to change. TPU also has a tendency to absorb humidity in the air and prints poorly when wet so I have to stick it in a filament dryer before printing. In order to perfect my setting, I printed many copies of a benchmark print while methodically fiddling around with my settings in order to eliminate imperfections and increase the quality of the output.


 |
| Many small problems I had with TPU |
For this robot, I wanted the spinner and the anti-wedge forks to be made out of metal to increase their effectiveness and durability. My original idea when I thought about making parts out of metal was to buy stock and go to CWRU's think[box] and machine parts myself. Unfortunately, think[box] is closed during the Hawken Project period and I would be left without the ability to machine metal as we don't currently have that ability in the fab lab. Instead, I turned to an online service, Send Cut Send (SCS). All I need to do is design my part, send them a 2d sketch, choose the material, thickness, and finish, and they will ship me my part. Unfortunately, due to shipping times, I will only have time to order custom metal once within the project period, so I had to make sure all of my designs were final and in weight before ordering the parts.
Another material that I wanted to machine myself was Carbon Fiber. Because TPU is a flexible filament, I could not make my entire chassis out of it as there would be no rigidity to keep things aligned. I would need a rigid top and bottom plate held together by screws and standoffs to provide the structure I needed. The best material for this use case would be carbon fiber because of its rigidity and strength-to-weight ratio when compared to either plastics or metals. Unfortunately, while metal parts from SCS are only about $5 per part, carbon fiber plates would be in the hundreds of dollars. Instead, I realized that I had the ability to machine them myself. I was able to find 6"x6" carbon fiber sheets for only $22 each and a router bit also for $22 which would allow me to CNC my top plates in the fab lab really easily.
 |
| Carbon fiber and router bit |
One last thing that I wanted to add to this robot was custom wheels instead of using foam like on my previous robot. I had seen a design on a robot that used TPU to create springy spokes that would help absorb impact while the wheel was much more durable than foam. To attach this wheel securely to the axle, I ordered a hub with screw holes online and to create grip with the ground I plan to use grip tape.
 |
| Wheel I designed |


Comments
Post a Comment