Blog Post #3: Plastic Version 2
Given that the first iteration of my robot was too large and overweight and the design would be a pain to change given the number of problems in the CAD file, I decided to redo the whole thing from scratch. On my first robot, I noticed that I had left way more empty space inside of the chassis than I actually needed. When designing these robots, air is heavy; a large portion of my mass comes from my surface area so shrinking my robot allowed me to save a lot more weight than I would have originally thought.
The second major way that I saved some mass was by reducing the number of screws I used and making them shorter. My robot has two side panels and two weapon mounts which were each originally held in by four screws in a rectangle and I was able to instead use three arranged in a triangle. I also reduced the number of screws holding in my top cover from five to four.
 |
| Design of the new chassis in progress |
Another way that I improved the design of my chassis when redoing it was to simplify the model. Particularly inside, there were many small details left over from me first trying to figure out some of the smaller components. These details in turn increased the number of wall layers on the print which increased the weight unnecessarily and greatly increased the print time. The second design of my chassis took less than half of the time to print despite actually weighing more with me using left over from all of the weight I saved in other places to boost strength.

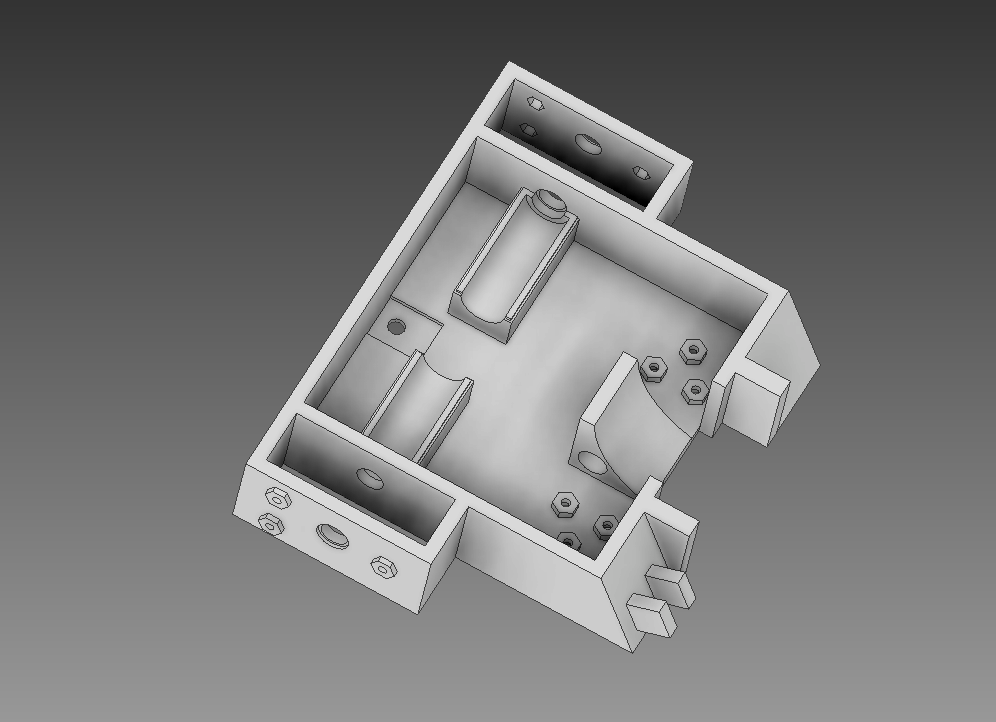
 |
| Images of the final CAD model |
The last things that I added to this robot were direct upgrades over what I had previously. First was a new design of my spinner, making it larger and adding a rake angle to my impactors on the spinner so they had more bite when they hit something. The second upgrade that I made to the robot was to change the forks on the front. Having something on the front of the robot is useful against robots with wedges because long thin forks generally stay on the ground better than wide wedges. My forks were originally integrated into my chassis which meant that if they broke off in a fight, I would have to replace the whole chassis and rebuild the whole robot pretty much. Now, they are attached to mounts on the front of the chassis so if the fork itself breaks, it will be really easy to replace.


Comments
Post a Comment